


In this video, we will discuss importing data for and creating a topographic surface.
Please note: In late 2020, Leapfrog Works received a significant update to its user interface. While the current version of Leapfrog looks quite different from the version used to record this video, most of this content is still valid as the layout, location of functions, and workflows remain largely the same. One noteworthy change in behaviour between what is discussed in this video (at ~4:33), and the current functionality of the software is the way collars can be projected onto the topography surface. In the current version, it is no longer a tick box (as is shown in the video), this function is now performed by selecting the “Set Elevation” option. This new functionality also allows for the projection of just a sub-set of collars, based on a query filter. Like the feature discussed in this video, this new method of projection is reversible, but not via a tick box, instead, you will double-click on the collar table to open it and under Collar Elevation you have the option of which z-value you would like to use. For more information about the latest new features, please see the Leapfrog Works product page (https://my.seequent.com/products/leapfrog-works/latest). Also, we are working to update our courses in MySeequent.
0:00 – Introduction to Topography surfaces in Leapfrog
1:04 – Options for importing topography data
1:24 – Creating a Topography mesh from a merged mesh
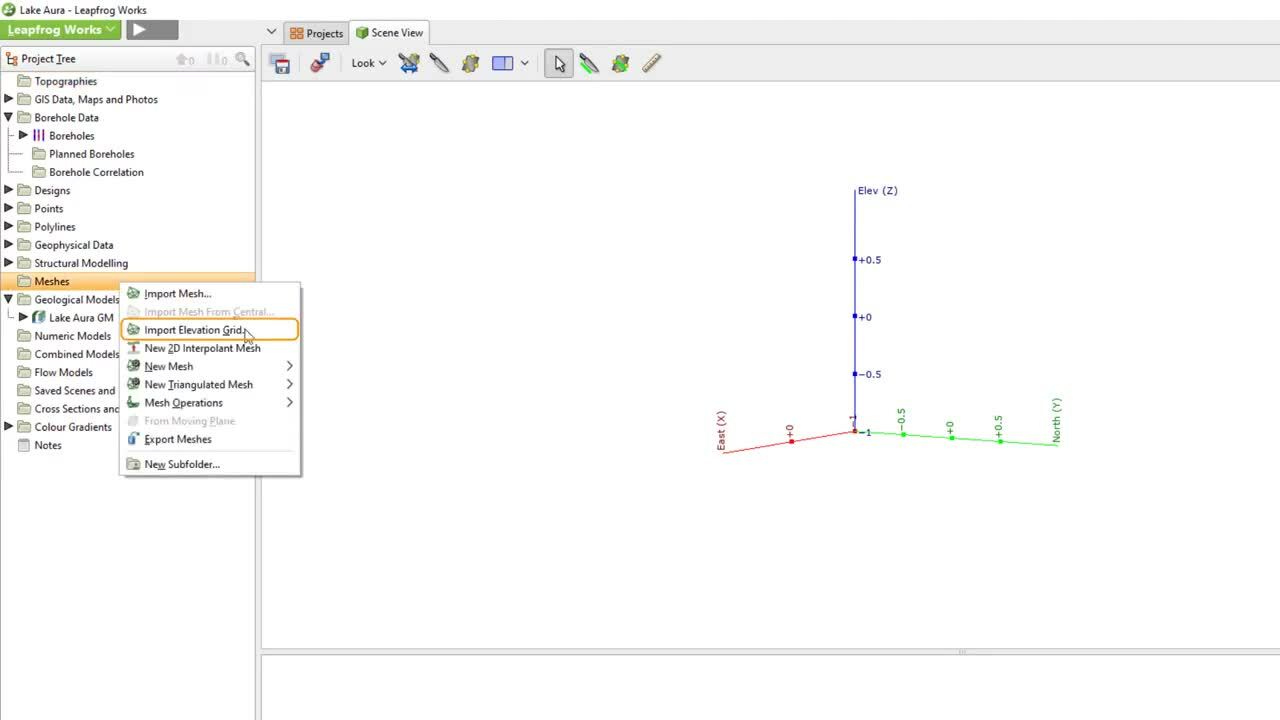
1:59 – Import a DEM into the Meshes folder
2:14 – Introduction to Resolution in Leapfrog
2:55 – Topography visualisation options
3:25 – Create a new Merged mesh
3:59 – Create a Topography surface from the merged mesh
4:12 – Editing the Topography surface with collar coordinates
4:33 – Projecting collars onto the topography surface
Duration
5 min
See more on demand videos
VideosFind out more about Leapfrog Works
Learn moreVideo Transcript
The video transcript gets copy and pasted here